N-Up PDF Tools for Teachers: Create Compact Classroom Handouts
Learn how teachers can use N-Up PDF tools to print 2, 4, or 6 pages per sheet. Save paper, cut copy costs, and make compact classroom handouts.
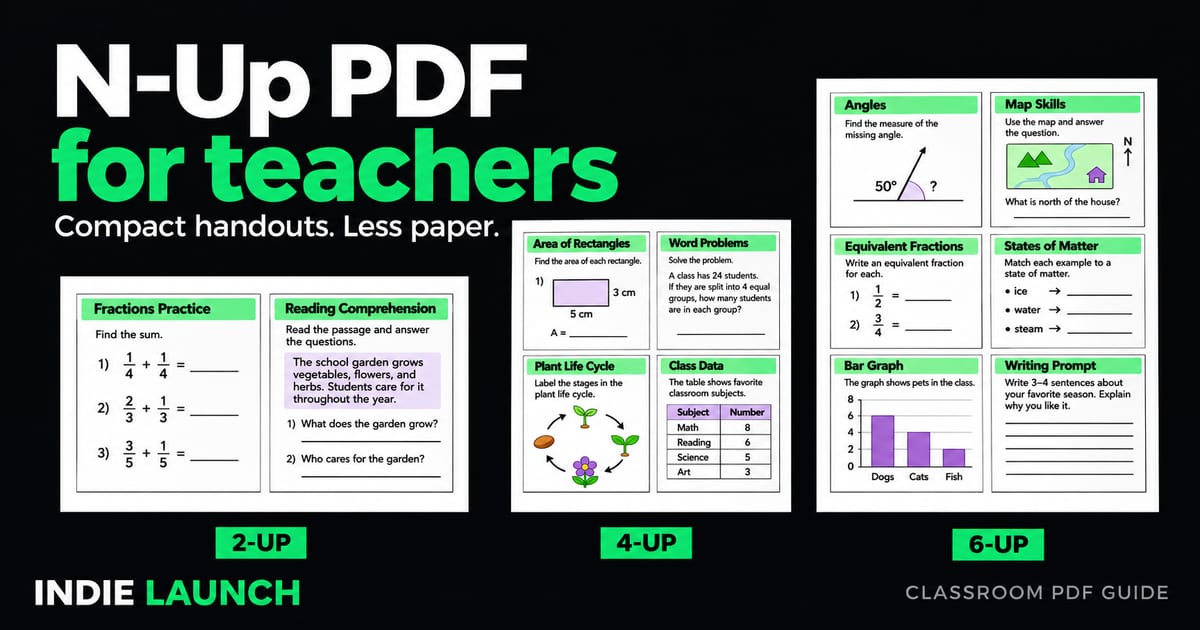
Every teacher knows the feeling. You have a 12-page reading packet, 90 students, and a printer that is already low on paper. Printing it the usual way means 1,080 sheets for one lesson. That is a lot of paper, a lot of toner, and a lot of time spent at the copier.
There is a simple fix. It is called N-Up printing, and it can cut your paper use by half or more. In this guide, you will learn what N-Up means, when it works best in a classroom, and how to make compact handouts without any special software.
What Is N-Up PDF Printing?
N-Up means putting "N" pages of a document on one printed side of a sheet of paper. The "N" is just a number.
- 2-Up: two pages on one side
- 4-Up: four pages on one side
- 6-Up: six pages on one side
- 9-Up: nine pages on one side
The pages get smaller to fit, but the content stays the same. With single-sided printing, a 12-page packet printed 2-Up becomes 6 sheets. Printed 4-Up, it becomes just 3 sheets.
An N-Up PDF tool does this for you before you print. It takes your original PDF and builds a new PDF with several pages on each sheet. Then you print that new file the normal way.
Why Teachers Should Use N-Up
1. Save paper and money
Paper adds up fast. Say you print a 10-page packet for 100 students. That is 1,000 sheets with single-sided printing. With 2-Up, it drops to 500 sheets. With 4-Up, each packet needs 3 sheets, so the class set uses 300 sheets. Over a school year, that saving is big, especially in schools with tight supply budgets.
2. Make handouts easier to carry
A thick packet is heavy in a backpack. It also gets crumpled, lost, or left at home. A short, compact handout is easier to keep.
3. Create quick study sheets
N-Up is great for review material. You can fit a whole chapter summary or a set of slides on two or three sheets. Students can fold them, tape them in a notebook, or keep them as a quick revision guide.
4. Print slides as notes
If you teach with slides, you can export them to PDF and print them 6-Up or 9-Up. Students get a compact lesson overview and, if you leave enough spacing, can write their own notes next to each slide.
5. Reduce time at the copier
Fewer sheets means shorter print jobs. You spend less time waiting and may have fewer jams to deal with.
Which N-Up Layout Is Best for Classroom Use?
Not every layout fits every job. Text gets small as you add more pages per sheet. Here is a quick guide.
| Layout | Best for | Readability | Paper saved |
|---|---|---|---|
| 2-Up | Reading passages, worksheets with text | Very good | Up to 50% |
| 4-Up | Study guides, review notes, short articles | Good | Up to 75% |
| 6-Up | Presentation slides with big text | Fair | Up to about 83% |
| 9-Up | Slide thumbnails, quick overviews, answer keys | Small | Up to about 89% |
Savings compare single-sided printing with one original page per sheet. Actual savings depend on the page count: each student's handout needs a whole number of sheets, including a partly filled final sheet.
A good rule: if students need to read long paragraphs, stay with 2-Up. If the page has large headings, diagrams, or short bullet points, 4-Up or 6-Up can work well. Check readability with a printed sample.
When You Should NOT Use N-Up
N-Up is not right for everything. Skip it in these cases:
- Worksheets where students write long answers. Shrinking the page also shrinks the answer space.
- Handouts for young children. Small print is hard for early readers.
- Students with vision needs. Use the accessible print size each student needs.
- Math pages with small symbols or fine graphs. Details can get lost.
When in doubt, print one test copy before you run the whole class set.
How to Make an N-Up PDF Step by Step
You can do this in a few minutes. The steps are about the same with most tools.
- Get your PDF ready. If your handout is a Word file or a slide deck, save or export it as a PDF first.
- Open an N-Up PDF tool. Choose a tool that works in your browser so you do not need to install anything.
- Select your file. Pick the PDF you want to shrink. A local-processing tool can open it without uploading it to a server.
- Choose pages per sheet. Select 2, 4, 6, or 9 depending on your handout and the layouts your tool supports.
- Check the page order and orientation. Landscape often works better for slides. Portrait may work better for text pages; check the preview.
- Add borders or spacing if you can. A thin line around each page makes small pages easier to distinguish.
- Create and download the new PDF.
- Preview it before printing. Zoom in and make sure the smallest text is still readable.
- Print. Print the already arranged PDF at one PDF page per printed side, rather than applying N-Up a second time in the print dialog. If you want to save even more paper, print on both sides of the sheet.
Tip: Combine N-Up with double-sided printing. A 12-page packet printed 4-Up and double-sided uses just 2 sheets of paper.
Teacher-Friendly Ideas for Using N-Up
Here are a few ways to use N-Up in the classroom.
- Reading packets: Print a long article 2-Up so each student gets a slimmer packet.
- Vocabulary lists: Print several weeks of word lists 4-Up for a handy reference sheet.
- Exam review: Turn a 20-page study guide into a 5-sheet review pack using 4-Up, single-sided printing.
- Slide notes: Print lecture slides 6-Up and leave space for student notes.
- Substitute plans: Keep all lesson materials compact so a substitute teacher can find them fast.
- Parent communication: Share a multi-page school guide as a short, easy-to-read handout.
Privacy Matters: Be Careful with Student Documents
Teachers often work with files that include student names, grades, or class lists. Before you use any online PDF tool, ask where your file goes.
Many online tools upload your file to a server. That means your document sits on someone else's computer, even if only for a short time. For school documents, that is a risk you may not want to take.
A browser-based tool can instead process the file right on your own device. FixMyPDF describes its PDF processing as local to your browser, with no file uploads. Whatever tool you pick, read its privacy note first, check the specific tool's behavior, and follow your school's data rules.
Tips for Better Compact Handouts
- Use a clear font. Sans-serif fonts like Arial or Calibri can help keep small text legible.
- Start with a sufficiently large font size. A 12 pt original can become too small after 4-Up reduction. Choose the layout and original font size based on the final printed result, not the original alone.
- Use high contrast. Black text on white paper prints best.
- Leave margins in the original. Tight margins get tighter after shrinking.
- Test one copy first. It takes one minute and can save you from reprinting a whole set.
- Label your files. Name them clearly, such as
Unit3_Reading_4Up.pdf, so you can find them later.
Frequently Asked Questions
What does N-Up mean in a PDF?
N-Up means placing multiple pages of a PDF onto one printed side of a sheet. "N" stands for the number of pages per side, such as 2-Up or 4-Up.
Does N-Up lower the quality of my handout?
Each page is printed smaller. Text and images can remain sharp when the original PDF is clear, but output quality depends on the tool, source file, and printer. Very small text can be hard to read, so test one copy first.
How many pages per sheet is best for students?
For reading text, start with 2-Up. For study guides and notes, 4-Up may be a good balance. For slides, 6-Up can work if the text is large. Always check the final print size and your students' needs.
Can I print N-Up handouts on both sides?
Yes. Create the N-Up PDF first, then use double-sided printing. Keep the print dialog at one PDF page per printed side so you do not shrink the layout again.
Can I use N-Up with PowerPoint slides?
Yes. Export your slides to PDF, then use an N-Up tool to put 4, 6, or 9 slides on each page, where supported. This is a popular way to make lecture notes.
Is it safe to use an online N-Up tool with student documents?
It depends on the tool. Check whether it processes files inside your browser or uploads them to a server. Also follow your school's policy on handling student data.
Do I need to install software?
No. Many N-Up tools run in your browser, so you can open the website and select your PDF without installing a separate app.
Can I choose the page order?
Some tools let you pick left-to-right or top-to-bottom order. Check the available settings and preview to make sure the pages flow the way you want.
Final Thoughts
N-Up printing is a simple way for teachers to save paper, time, and money. It takes just a few clicks, and the result can be a neat, compact handout that students can carry and use.
Start small. Take one reading packet, try 2-Up or 4-Up, and print a single test copy. Once you see how much paper you save, it may become part of your regular lesson prep.
About the author: Ramsey runs FixMyPDF.in, a free set of browser-based PDF tools built with privacy in mind. He writes about simple ways to make everyday document tasks faster and easier.